

Key Takeaways
- A cartridge that skips or prints faint is often just clogged, not empty, and can frequently be revived at home.
- The gentlest fixes come first: run the printer’s built-in cleaning cycle before you touch the cartridge.
- A warm, damp paper towel or a short warm-water soak can dissolve dried ink around the print nozzles.
- Never use hot water, alcohol, or force air into a cartridge, and always let it fully dry before reinstalling.
- If a cartridge has sat empty for months, revival may fail, and replacing it can be the smarter choice.
You pull the printer out of the closet for one quick document, and the page comes out streaky, faded, or blank. Frustrating, right? Before you toss that cartridge and spend money on a new one, know this: a dried-out cartridge is often just clogged, not dead. I have brought several “empty” cartridges back to life on my own desk using nothing fancier than a paper towel and warm water. By the end of this guide, you will know exactly how to revive a dried ink cartridge safely, which methods to try first, and when it is genuinely time to let one go.
Why Ink Cartridges Dry Out in the First Place
Inkjet ink is water-based, and water evaporates. When a printer sits unused for weeks, the tiny nozzles on the cartridge (or on the printhead) can crust over as the ink dries into a thin plug. That plug blocks fresh ink from flowing, so you see faint text, missing colors, or blank pages even when the tank still holds plenty of liquid.
Heat and dry air speed this up. A cartridge left in a warm car, near a sunny window, or stored out of its packaging will clog faster than one kept cool and sealed. The good news is that dried ink is usually water-soluble, which is exactly why gentle moisture can dissolve it back to a printable state.

It helps to know which type of cartridge you have. Some cartridges have the printhead built in (you can see a copper-colored strip or a small nozzle plate on the bottom). Others are just ink tanks, and the printhead lives inside the printer itself. The revival methods below work best on the integrated kind. If your ink is separate from the head, focus on the printer’s cleaning cycles instead. Not sure which camp you are in? Our overview of ink vs toner and how each system works can help you tell them apart.
Start With the Gentlest Fix: The Built-In Cleaning Cycle
Before you remove anything, let the printer try to fix itself. Nearly every inkjet has a nozzle-cleaning or head-cleaning routine buried in its menu. This flushes a small burst of ink through the nozzles to punch through light clogs, and it is by far the lowest-risk option.
You will usually find it under Settings, Maintenance, or Tools on the printer’s screen, or inside the printer software on your computer. Run a cleaning cycle, print a test page, and repeat once or twice if the results improve each time. If the test page gets better with each pass, you are on the right track. If two or three cycles make no difference at all, stop, because more cleaning just wastes ink.
Tip: Run cleaning cycles in small batches and always print a test page between them. Blasting through five cycles in a row can drain a quarter of your ink for nothing. Give the printer a minute or two between attempts so the flushed ink has a chance to work.
Method 1: The Warm Damp Paper Towel
This is my go-to first move for a cartridge with a built-in printhead, and it has rescued more of mine than any other trick. It is gentle, quick, and needs nothing you do not already have in the kitchen.
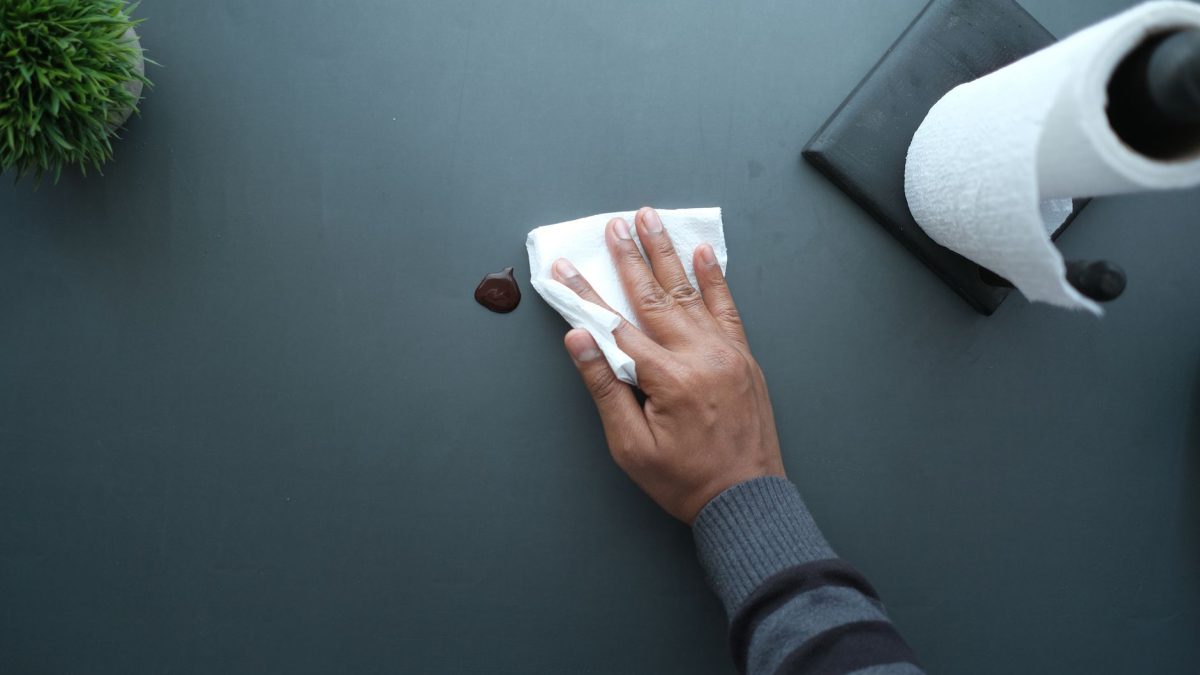
Fold a plain paper towel a few times and dampen it with warm (not hot) water until it is moist but not dripping. Remove the cartridge from the printer and hold it with the nozzle plate facing down. Press the nozzle gently against the damp towel and hold it there for 30 to 60 seconds. You should see a small smear of ink transfer onto the towel, which tells you dried ink is dissolving and fresh ink is starting to flow.
Dab the nozzle across a clean section of the towel a couple of times, blot it dry, and reinstall the cartridge. Run one cleaning cycle and print a test page. Many light-to-medium clogs clear at this stage, and you can stop right here.
Method 2: The Warm-Water Soak
If the paper towel did not fully do the job, a short soak gives stubborn dried ink more time to loosen. Pour warm water into a shallow dish or cup, deep enough to cover just the nozzle plate, not the whole cartridge. You do not want to soak the electrical contacts or the vent holes on top.
Set the cartridge nozzle-down in the water and leave it for two to three minutes. You will often see a faint cloud of ink drift into the water as the clog breaks up. Lift it out, blot the nozzle dry with a paper towel, and let it rest on a folded dry towel for a few minutes before reinstalling. Reinstalling a wet cartridge is the most common way people ruin an otherwise fixable one, so patience here really pays off.
Warning: Never use hot or boiling water, and never soak the gold or copper electrical contacts. Hot water can warp the plastic and damage the nozzles, and wet contacts can trigger a “cartridge not recognized” error or short something out. Warm tap water and a dry cartridge are the safe combination.
Method 3: The Steam-and-Blot for Tough Clogs
For a cartridge that has sat for a long time, a little steam can soften a hardened plug that plain soaking will not touch. Boil water, pour it into a mug, and hold the nozzle plate a few inches above the rising steam for 20 to 30 seconds. The warm moisture works into the nozzles without exposing the plastic to direct heat.
Follow the steam with the damp paper towel method to draw the softened ink out. Keep your fingers clear of the steam so you do not get burned, and never dunk the cartridge in the hot water itself. This is a last resort before deciding whether the cartridge is worth saving at all.
Which Method Should You Try? A Quick Comparison
| Method | Best For | Time Needed | Risk Level |
|---|---|---|---|
| Built-in cleaning cycle | Light clogs, any cartridge type | 2 to 10 minutes | Very low |
| Warm damp paper towel | Light to medium clogs | 2 to 5 minutes | Low |
| Warm-water soak | Medium, stubborn clogs | 5 to 10 minutes | Low to medium |
| Steam and blot | Hardened, long-dried clogs | 10 to 15 minutes | Medium |
Step-by-Step: Reviving a Dried Cartridge From Start to Finish
Here is the full process I follow, in order, so you always begin with the safest option and escalate only if you need to.
- Run one built-in cleaning cycle and print a test page. Expected result: streaks or gaps improve, or you confirm the clog is stubborn enough to need hands-on work.
- Power off the printer and remove the cartridge, holding it by the sides. Expected result: the cartridge releases with a light click and you can see the nozzle plate.
- Fold a paper towel, dampen it with warm water, and press the nozzle plate onto it for up to 60 seconds. Expected result: a visible ink smear transfers to the towel.
- If ink barely transfers, soak just the nozzle plate in warm water for two to three minutes. Expected result: a faint cloud of ink drifts into the water.
- Blot the nozzle dry and rest the cartridge on a dry towel for five minutes. Expected result: no visible moisture on the contacts or nozzles.
- Reinstall the cartridge, run one more cleaning cycle, and print a test page. Expected result: full, even color and text with no gaps.
- If it still skips, repeat the soak once more or try the steam method. Expected result: either a clean test page or a clear sign the cartridge is beyond saving.
When I revived a color cartridge that had sat unused for about four months, the paper-towel step alone brought back the black and cyan, but the magenta stayed patchy. A single two-minute soak finished the job, and the next test page came out clean. Total time was under ten minutes, and I saved the cost of a new cartridge.
When It Is Time to Stop and Replace
Revival is not magic, and some cartridges are simply done. If a cartridge has been bone-dry for many months, the ink can harden into a plug no amount of warm water will shift. Cracked casings, leaking ink, or damaged electrical contacts are also signs to stop trying.
A good rule of thumb: if you have tried the cleaning cycle plus two hands-on methods with no improvement, further attempts usually just make a mess. At that point, a fresh cartridge is the reliable fix. If you are weighing your options, our comparison of refilling versus buying a new cartridge breaks down which one saves more over time, and our step-by-step guide to replacing an ink cartridge walks you through a clean swap.
Prevent the Next Clog Before It Starts
The easiest cartridge to revive is the one that never dries out. The single best habit is to print something in color at least once every week or two, even a small test page, so ink keeps moving through the nozzles. Regular use is the cheapest maintenance there is.
Storage matters too. Keep spare cartridges sealed in their packaging, upright, and somewhere cool and out of direct sun. For a deeper routine, see our tips on how to store cartridges so they do not dry out, and if you want to trim your overall spending, our roundup of the best ways to cut printer running costs covers the habits that add up. Everything on this topic ties back to our pillar, the complete guide to printer ink and toner.
Want to know how we test and stand behind this advice? You can read more on our editorial policy page. For background on how inkjet nozzles actually spray ink, the overview at Wikipedia’s inkjet printing article is a solid, plain-language read.
Frequently Asked Questions
Can you really revive a dried-out ink cartridge?
Often, yes. When a cartridge prints faint or blank but still holds ink, the nozzles are usually clogged with dried ink rather than empty. Warm water and the printer’s cleaning cycle can dissolve that clog and restore normal printing. Cartridges dry for months, though, may be beyond saving.
Is warm water safe for cleaning ink cartridges?
Warm tap water is safe and effective because inkjet ink is water-based and dissolves easily. The key rules are to keep the water warm, never hot, and to keep the electrical contacts and vent holes dry. Always blot and air-dry the cartridge fully before you reinstall it.
Should I use alcohol or vinegar instead of water?
Plain warm water is the safest choice for most clogs. Isopropyl alcohol can help with truly stubborn plugs, but it can also dry out and damage some inks and seals, so use it sparingly and only on the nozzle. Skip vinegar, since its acidity can corrode delicate cartridge parts.
Why does my printer say the cartridge is empty when it still has ink?
Many printers estimate ink levels by counting pages rather than measuring the actual liquid, so warnings can appear early. A “not recognized” or empty message can also come from dirty contacts. Wipe the contacts with a dry cloth, and check our guide to cartridge-not-recognized errors for more fixes.
How long can a cartridge sit before it is beyond reviving?
There is no exact deadline, but the odds drop sharply after several months of sitting dry and out of packaging. A cartridge unused for a few weeks usually revives easily. One that has been dry for six months or more may have ink hardened past the point warm water can fix.
The Bottom Line
A faint or blank page is not always the end of a cartridge. Start with the printer’s cleaning cycle, move to a warm damp towel, and step up to a short soak only if you need to, always drying fully before you reinstall. More often than not, that clog clears and you save yourself a trip to the store.
If you would rather prevent the whole problem, a little regular printing and smart storage go a long way. Whenever you are ready to dig deeper into getting the most from your supplies, browse the rest of our ink and toner guides at your own pace. Your printer, and your wallet, will thank you.


