

Key Takeaways
- Most printer damage from a jam comes from how we clear it, not from the stuck sheet itself.
- Always pull jammed paper slowly in the direction it was already feeding, never backward against the rollers.
- Unplug the printer first. It protects your fingers from a hot fuser and stops the rollers turning without warning.
- Check for tiny torn scraps before you close the covers. A hidden corner is the number one cause of a repeat jam.
- Sharp metal tools scratch rollers and sensors, which turns a two-minute fix into a real repair bill.
A paper jam is annoying, but it is rarely the thing that actually breaks a printer. In my years of fixing home and small-office machines, most of the cracked guides and torn rollers I have seen came from a rushed, forceful rescue, not from the stuck sheet. The good news is that every common mistake is easy to avoid once you know what to watch for. Below are the six errors I see most often, why each one causes trouble, and the calm, simple move that works better every time.
Why the Way You Clear a Jam Matters
Inside every printer is a narrow paper path lined with soft rubber rollers, thin plastic guides, and small sensors that count sheets. When a page wedges into that path, the fibers grip the rollers and the sheet tears easily. A hurried pull leaves scraps behind, and those scraps trigger the next jam within a page or two.
So the mistakes below are not about being clumsy. They are about instinct. When paper is stuck and a print job is waiting, our first reaction is to grab and yank, which is almost always the wrong move. If you want the full background on how the paper path works, our complete guide to fixing printer paper jams walks through the whole route in plain language.
The 6 Mistakes, and What to Do Instead
1. Yanking the Paper Backward, Against the Feed
This is the single most common mistake. The natural urge is to pull the sheet back the way it came, out through the tray. The trouble is that the rollers and gears are built to move paper one way only, so pulling backward fights the whole mechanism.
Pull slowly in the direction the paper was already travelling, usually forward toward the output slot or out through the rear door. If the sheet resists, stop and open another access panel rather than forcing it. Paper that comes out the natural way is far less likely to tear.
2. Pulling Fast and Hard Instead of Slow and Steady
Even in the right direction, speed is the enemy. A quick, hard tug tears the sheet across a roller and leaves a thin strip wrapped around it, deep where your fingers cannot reach. That leftover strip is what turns one jam into three.
Use two hands and steady, even pressure, the way you would peel a sticker you do not want to rip. If the paper tears anyway, our steps for how to remove torn paper stuck inside a printer show how to recover the leftover pieces without new damage.
Warning: Always power off and unplug the printer before you reach inside. In a laser printer the fuser can stay hot enough to burn for several minutes after the last print, and rollers can suddenly turn if power returns. A quick unplug protects both your fingers and the machine.
3. Reaching Inside With the Power Still On
Many people clear a jam with the printer still running, hoping it will just resume. That leaves live rollers ready to grab a finger and, on a laser model, a fuser that is genuinely hot. It also confuses the sensors, so the machine may report the jam as cleared when a scrap is still inside.
Switch the printer off and pull the plug before your hands go in. Beyond safety, a full power cycle clears the error state, so when you turn it back on the sensor count resets cleanly and the false alarm disappears.
4. Declaring Victory Before Checking for Scraps
You pull out the crumpled sheet, close the cover, and hit print, only to get the same jam message. This is the mistake that wastes the most time. A single torn corner the size of a fingernail is enough to block the sensor or snag the next page.
Before you close anything, shine a light along the whole paper path and look for small pieces still clinging to the rollers or tucked into a corner. I once spent twenty minutes convinced a client’s laser printer had failed, only to find a triangle of paper wedged flat against the fuser, almost invisible until the flashlight caught its edge. One scrap can look exactly like a dead machine.
5. Reaching for Sharp or Metal Tools
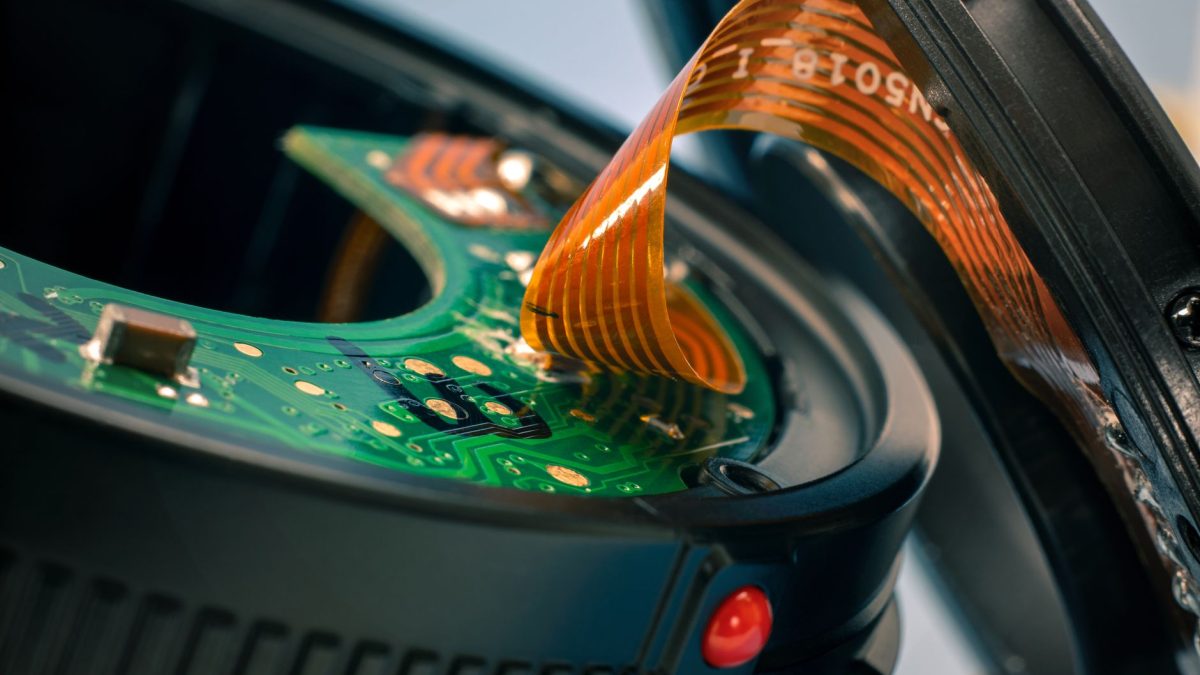
When paper hides deep in the path, out come the scissors, the screwdriver, or the metal tweezers. This is how a cheap fix becomes an expensive one. Metal points gouge the soft rubber rollers, scratch the plastic guides, and can short a sensor in one careless poke.
If you need a tool, keep it blunt and non-metal: soft plastic tweezers or a thin, smooth plastic pick. For a fuller kit that clears almost any jam safely, see our rundown of the best tools for clearing paper jams. Everything on that list is gentle by design.
6. Ignoring Why the Jam Keeps Happening
The last mistake is treating every jam as a one-off. If the same printer jams every few pages, the sheet is a symptom, not the problem. The usual root causes are an overfilled tray, paper that is curled or damp, guides set too loose, or hard, glazed rollers that have stopped gripping.
Fix the cause and the jams stop for good. Load fewer sheets, fan the stack, snug the side guides against the paper, and wipe the rollers if they look shiny. My write-up on how I fixed a repeat paper jam in my laser printer shows how a five-minute roller clean ended weeks of trouble.
Mistakes at a Glance
| Common mistake | What it causes | Do this instead |
|---|---|---|
| Pulling backward against the feed | Torn sheet, jammed gears | Pull the way the paper was feeding |
| Fast, hard yanking | Strips left on the rollers | Slow, even, two-handed pressure |
| Working with the power on | Burns, pinched fingers, false errors | Switch off and unplug first |
| Not checking for scraps | Instant repeat jam | Light up and inspect the whole path |
| Using metal or sharp tools | Scratched rollers, shorted sensors | Blunt plastic tweezers or pick |
| Ignoring the root cause | The same jam over and over | Fix tray, paper, guides, rollers |
Tip: When you cannot see where the sheet is stuck, gently turn the printer’s manual feed knob or roller by hand, if your model has one, to walk the paper toward an open door. Slow hand pressure moves it in the correct direction without the sudden grab that tears pages.
The Calm Way to Clear a Jam, Step by Step
Avoiding the six mistakes is easier when you follow the same simple routine every time. Here is the sequence I use on every machine I service.
- Power the printer off and unplug it, then wait a few minutes for the fuser to cool.
- Open every access point: the paper tray, the rear door, and any duplexer or top cover.
- Shine a flashlight along the path and find exactly where the sheet is stuck before you touch it.
- Grip the paper with both hands or blunt plastic tweezers and pull slowly in the feed direction.
- If it will not move, open another panel or turn the roller by hand rather than forcing it.
- Search every corner for small torn scraps and lift them out gently.
- Close all the covers, plug back in, power on, and run a test page.
That is the whole routine. For a fuller walkthrough with photos of each panel, our step-by-step guide on how to clear a paper jam covers the same steps in more detail. And if the printer reports a jam but you cannot find any paper at all, our look at the difference between a phantom jam and a real jam will help you work out what is really going on.
A Quick Word on Trust and Sources
Everything here comes from hands-on repair work on real home and office printers, not from guesswork. If you would like to know more about how our team tests and writes, our editorial policy lays out the approach. You can also browse every jam-related article in one place on our paper jams category hub.
For the manufacturer’s own steps, a support site such as Brother printer support often lists jam locations specific to your model, and the general overview of paper jams on Wikipedia explains why feed paths snag in the first place.
Frequently Asked Questions
What is the biggest mistake people make clearing paper jams?
Pulling the paper backward, against the direction it was feeding. The rollers and gears only move one way, so tugging back fights the whole mechanism and tears the sheet. Always pull slowly forward, the way the page was already travelling, and open another panel if it resists.
Why does my printer jam again right after I clear it?
Almost always because a small torn scrap is still hidden inside, or the rollers have grown hard and slippery. Shine a light along the full paper path and remove every fragment before closing the covers. If the rollers look shiny, a quick wipe restores their grip and stops the cycle.
Should I turn the printer off before clearing a jam?
Yes, switch it off and unplug it first. This keeps your fingers safe from live rollers and a hot fuser, and it resets the sensor error so the machine does not report a phantom jam once you are done. A full power cycle also clears any stuck error message.
Is it safe to use tweezers to pull out stuck paper?
Only blunt plastic tweezers, never sharp metal ones. Metal tips can gouge the soft rubber rollers or short a sensor with one slip. Plastic tweezers grip torn corners gently and reach into gaps your fingers cannot, which makes them safe for almost any stuck sheet.
Can clearing a jam the wrong way actually break my printer?
It can. Yanking hard tears strips onto the rollers, and metal tools scratch guides or short sensors, which are the repairs that cost real money. The jam itself rarely harms the printer. Slow, gentle removal with the power off keeps a minor snag from becoming a service call.
Clearing Jams the Kinder Way
None of these six mistakes come from carelessness. They come from hurrying, and every one of them is easy to swap for a calmer move: unplug first, pull slowly in the feed direction, check for scraps, skip the metal tools, and fix the cause when a jam keeps returning. Do that and a stuck sheet stays a two-minute annoyance instead of a repair. If you would like to keep learning, browse the rest of our paper jam guides next time you have a spare moment. Your printer, and your next deadline, will thank you.


