

Key Takeaways
- Always power off and unplug the printer before you reach inside, then pull jammed paper slowly in the direction it normally travels.
- Most jams come from just a few causes: overfilled trays, curled or damp paper, worn rollers, and stray torn scraps left behind.
- Check every access point, not just the tray, because a single stuck sheet can hide under the toner cartridge or inside the duplexer.
- Prevention beats repair. Fan your paper, keep it dry, and clean the feed rollers a few times a year.
- A jam that keeps coming back usually points to a worn roller or a torn scrap, not bad luck.
That grinding sound, the blinking light, and a page frozen halfway out. Almost everyone who owns a printer has stood there wondering whether they are about to break something expensive. I have cleared hundreds of these jams on home and small-office machines, both inkjet and laser, and the good news is that the vast majority take only a few minutes to fix with your bare hands. By the end of this guide you will know exactly why a printer paper jam happens, how to clear one without tearing the sheet, and the simple habits that stop the same jam from returning next week.
What a Paper Jam Actually Is
A paper jam is simply a sheet that stopped moving somewhere along its path through the printer. Inside every machine, rollers grab paper from the tray and hand it off to the next set of rollers, like a bucket brigade. When one hand-off fails, the sheet stalls, a sensor notices the page never arrived, and the printer halts to protect itself.
Understanding this path is the whole secret to clearing jams safely. Paper only ever wants to go one way through the machine. If you learn to pull it in that same direction, you avoid the torn scraps that turn a two-minute fix into an afternoon. For a deeper look at the root causes, our guide on what causes paper jams for beginners breaks each one down.
The Paper Path in Plain English
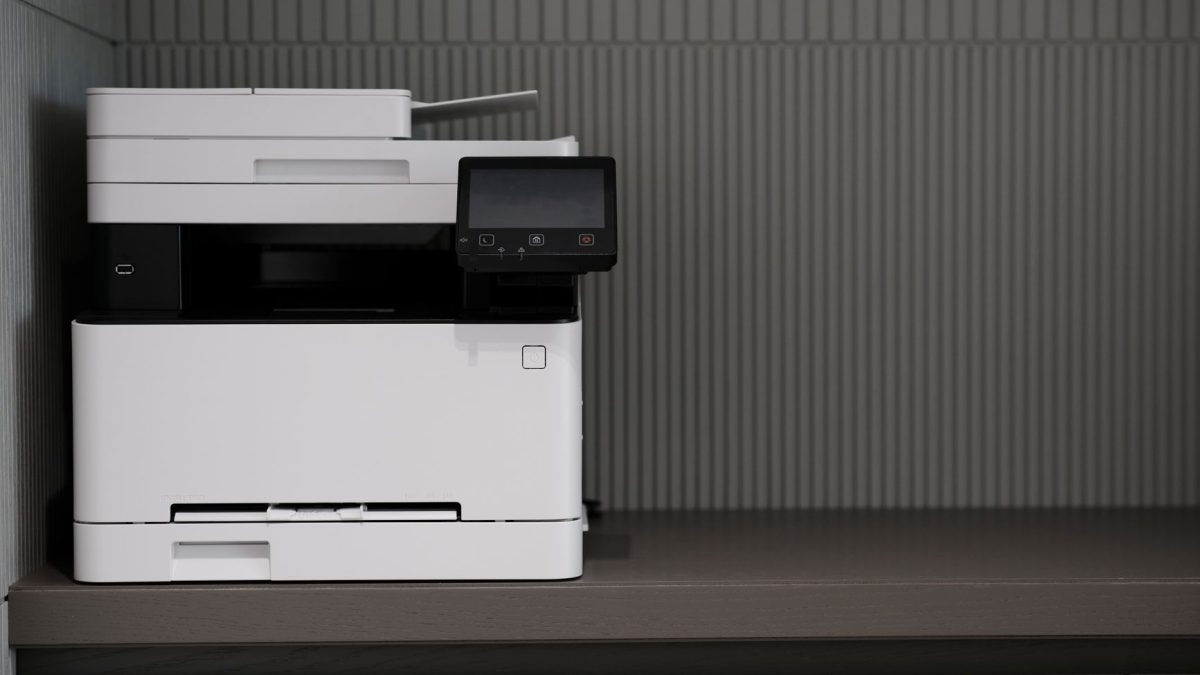
Think of four stages. First, the pickup rollers lift one sheet from the tray. Second, feed rollers pull it into the print area. Third, the print mechanism lays down ink or fuses toner onto the page. Fourth, exit rollers push the finished sheet into the output tray. A jam can happen at any of these four points, and each has its own access door.
The error code on the display often hints at which stage failed. Many machines label jams by zone, such as tray, rear, or duplex. When you see one of these, head straight for that door instead of taking the printer apart. Matching the message to the stage is the single fastest way to cut your clearing time in half.
The Most Common Causes of a Printer Paper Jam
Jams feel random, but they rarely are. In my own repairs, four culprits account for almost every case I see. Once you know them, you can usually predict which machine on a busy office floor will jam next just by looking at how its tray is loaded.
- Overloaded or underloaded trays. Stuffing paper past the fill line makes the rollers grab two or three sheets at once. Too little paper can also misfeed as the stack sags.
- Damp, curled, or wrinkled paper. Humidity makes sheets stick together and curl at the edges, so they catch on the rollers instead of gliding through.
- Worn or dirty feed rollers. Rubber rollers glaze over and lose grip after thousands of pages, causing slips and misfeeds.
- Foreign objects and torn scraps. A staple, a paper clip, a sticky note, or a fragment left from a previous jam will snag the next sheet.
The right paper matters more than most people expect. Loading the wrong weight, mixing sizes, or reusing crumpled sheets invites trouble. If you want the full list of loading errors to avoid, see our roundup of paper-loading mistakes that cause jams.
Warning: Never yank a jammed sheet backward against the paper path or use sharp metal tools inside the printer. Pulling against the rollers can bend gears or scratch the drum, and a screwdriver can puncture parts that cost more than the printer. Slow, straight, forward pulls only.
Clear a Paper Jam Step by Step
Here is the exact routine I use on almost every machine. Work calmly and give yourself good light. Rushing is how sheets tear. For a photo-led walkthrough you can bookmark, our step-by-step guide to clearing a paper jam covers the same process in detail.
- Power off and unplug the printer. Expected result: all lights go dark and the rollers can no longer spin, so your hands stay safe.
- Open every access door. Lift the top cover, open the rear door, and pull out the paper tray. Expected result: you can see into the paper path from multiple angles.
- Locate the jammed sheet. Look at the tray, the print area, and the exit slot. Expected result: you spot where the paper stalled and which way it was heading.
- Pull the sheet slowly in the direction of travel. Use two hands and even pressure. Expected result: the whole page slides free without tearing.
- Check for torn pieces. Shine a light and feel gently for any scraps left behind. Expected result: the path is completely clear, with no fragments near the rollers.
- Reload the tray correctly. Square the stack, keep it under the fill line, and adjust the guides snugly. Expected result: paper sits flat and centered.
- Close everything, plug in, and power on. Print a test page. Expected result: a clean sheet comes out and the error clears.
If a piece tears and stays inside, do not force the printer back on. Removing fragments takes a gentler touch, and our guide to removing torn paper stuck inside a printer shows how to fish them out without damage.
Tip: Keep a small flashlight and a pair of blunt plastic tweezers near your printer. In my experience, good light finds the scrap in seconds that you would otherwise spend ten frustrating minutes hunting for by feel.
Where to Look: A Jam-Location Checklist
Different jams hide in different places. Use this at-a-glance table to match the symptom to the spot before you start pulling. It saves you from opening the wrong door first.
| Symptom | Likely Location | What to Check |
|---|---|---|
| Paper never leaves the tray | Pickup rollers | Fill line, guides, roller grip |
| Grinding, page half printed | Feed or print area | Sheet under the cartridge or drum |
| Page stuck at the exit slot | Exit rollers | Output tray, rear door |
| Jam only on two-sided prints | Duplexer | Rear duplex unit, flip path |
| Error but no visible paper | Sensor or scrap | Tiny fragments, dust on sensors |
That last row trips up a lot of people. When the display insists there is a jam but you cannot find any paper, you may be dealing with a stuck sensor flag or a hidden scrap. Our explainer on the difference between a phantom jam and a real jam walks through how to tell them apart, and we have a dedicated FAQ for when a printer says paper jam but there is no paper.
Inkjet vs Laser: Do They Jam Differently?
Both types share the same basic paper path, so the clearing steps are nearly identical. The differences show up in the print stage. An inkjet lays wet ink and uses a moving print head, while a laser fuses dry toner with a hot roller called the fuser.
Because of that heat, laser jams near the fuser can leave the paper warm, and you should let the area cool before reaching in. Inkjet jams are more often caused by curled or damp paper catching the head. If you are choosing a new machine and want fewer jams overall, compare the two in our piece on inkjet versus laser and which jams less often.
The Duplexer and the Fuser: Two Trouble Spots
Two-sided printing adds a extra loop to the paper path called the duplexer, where the sheet flips over. That loop is a common jam point because the paper has to reverse and travel a tighter route. If your machine only jams during double-sided jobs, our guide to fixing a duplexer jam on a two-sided print targets that exact problem.
The fuser and its rollers are the other repeat offenders on laser printers. When these wear out, jams become chronic no matter how carefully you load paper. Knowing when a part is worn versus just dirty saves money, and our article on fuser and roller jams and when to fix versus replace helps you decide.
Why the Same Jam Keeps Coming Back
A one-off jam is normal. A jam that returns every few pages is a message. In one small-office laser printer I serviced, the machine jammed on nearly every job for a week. The tray looked fine and the paper was fresh, so the owner assumed the printer was dying.
The real culprit was a glazed pickup roller that had lost its grip, plus a thumbnail-sized scrap of an old sheet wedged behind the duplexer. Wiping the roller with a slightly damp lint-free cloth restored its texture, and removing the scrap ended the repeat jams entirely. The before-and-after was night and day: from a jam on every page to a clean run of two hundred sheets. I wrote up that whole repair in how I fixed a repeat paper jam in my laser printer.
The lesson: when a jam repeats, stop clearing and start investigating. The two usual suspects are a worn roller and a hidden fragment. Both are cheap or free to fix once you find them.
Preventing Paper Jams for Good
Clearing jams is a skill, but preventing them is the real win. These habits cost almost nothing and dramatically cut how often you have to reach inside the machine.
- Fan the stack. Riffle the edges of your paper before loading to separate sheets that want to stick together.
- Store paper flat and dry. Keep reams sealed and off the floor. Damp paper is a top cause of misfeeds.
- Respect the fill line. Never load past the marked maximum, and do not run the tray bone dry.
- Match the paper to the job. Use the weight and size your printer is rated for, especially for labels and card stock.
- Clean the rollers a few times a year. A wipe with a lint-free cloth and a little water restores grip.
A tidy routine covers most of it. For a printable version you can tape to the wall, grab our paper jam prevention checklist for home printers. If you suspect your tray design is part of the problem, our roundup of printer trays and feeders that jam the least can guide your next purchase, and the right supplies help too, as covered in the best tools for clearing stubborn paper jams.
One more thing worth clearing up: a lot of common advice is simply wrong. Blowing hard into the printer, using the wrong cleaning fluids, or believing that all recycled paper jams more are myths that can do harm. We sort truth from folklore in paper jam myths versus facts. Manufacturer support pages, such as the official HP support site, also list model-specific jam clearing steps that are worth checking for your exact machine. For the mechanical background on how sheet feeders work, this overview of paper feeders is a helpful primer.
Frequently Asked Questions
Why does my printer keep jamming with no paper stuck?
This is usually a tiny torn scrap hiding near the rollers or a stuck sensor flag. Power off, open every door, and shine a flashlight along the full paper path. Even a fingernail-sized fragment can trip the jam sensor and stop the machine repeatedly.
Which way should I pull jammed paper out?
Always pull in the direction the paper normally travels through the printer, which is usually toward the output or exit side. Pulling backward against the rollers is the fastest way to tear the sheet and can damage gears. Use slow, even pressure with both hands.
Can a paper jam damage my printer?
A single jam almost never causes lasting harm if you clear it carefully. Damage happens when people force the sheet, use metal tools, or run the machine with a scrap still inside. Clear jams gently, remove every fragment, and your printer will be fine.
How often should I clean my printer rollers?
For a typical home printer, two or three times a year is plenty. Heavy office machines benefit from monthly wipes. If you notice misfeeds or slipping, clean sooner. A lint-free cloth lightly dampened with water is all most rollers need to regain grip.
Does cheaper paper cause more jams?
Quality matters more than price. Very thin, dusty, or poorly cut paper jams more because it curls, sticks, and sheds debris onto the rollers. Mid-grade paper stored flat and dry usually feeds cleanly. The bigger risk is damp or wrong-weight paper, not the brand.
Putting It All Together
A paper jam looks intimidating, but now you have the full picture: how paper moves, why it stalls, how to free it without tearing, and the small habits that keep it from happening again. Power off, pull with the path, check for scraps, and load with care, and you will handle almost any jam in minutes. If you would like to know more about who is behind these guides, visit our about us page. Take your time, trust the steps, and your printer will thank you with a clean, quiet run.


