

Key Takeaways
- Turn the printer off before you reach inside, then pull jammed paper slowly in the same direction the paper normally travels.
- Open every access door, tray, and the back panel so you can find the whole sheet, not just the part you can see.
- Pull with two hands and steady, even pressure to avoid tearing the sheet into hard-to-reach scraps.
- After clearing, check for loose bits, fan the paper stack, and run a test page to confirm the jam is truly gone.
- Most jams come from overfilled trays, damp paper, or worn rollers, so a few small habits stop them from coming back.
That grinding sound and the blinking error light never come at a good time. You are mid-print, the deadline is close, and suddenly a sheet is wedged somewhere inside the machine. Take a breath. A paper jam looks scary, but it is one of the most fixable problems a printer has. I have cleared hundreds of these on home inkjets and busy office lasers, and the fix almost always follows the same calm routine. By the end of this guide, you will know exactly how to clear a paper jam step by step, how to avoid tearing the sheet, and how to keep the same jam from returning tomorrow.
Before You Reach Inside: Safety First
Your safety and the printer’s health both depend on a few seconds of setup. Rushing is the number one reason a simple jam turns into a torn mess or a burned fingertip. Do these things first, every single time.
- Power it down. Press the power button and let the printer finish any motion before you open a door. This stops the rollers from grabbing the sheet again.
- Unplug if you will pull hard. For a deep or stubborn jam, unplug the power cord so nothing moves while your hands are inside.
- Let a laser printer cool. The fuser unit inside a laser printer runs very hot. Give it a few minutes before you touch anything near the back.
- Remove loose items. Take off rings, watches, and dangling sleeves so nothing snags on internal parts.
Warning: Never yank paper straight up or against the direction it feeds. Pulling backward can bend delicate rollers, scatter toner, or leave torn scraps buried near the fuser where they are far harder to reach. Slow and steady wins here.
Find the Jam Before You Pull
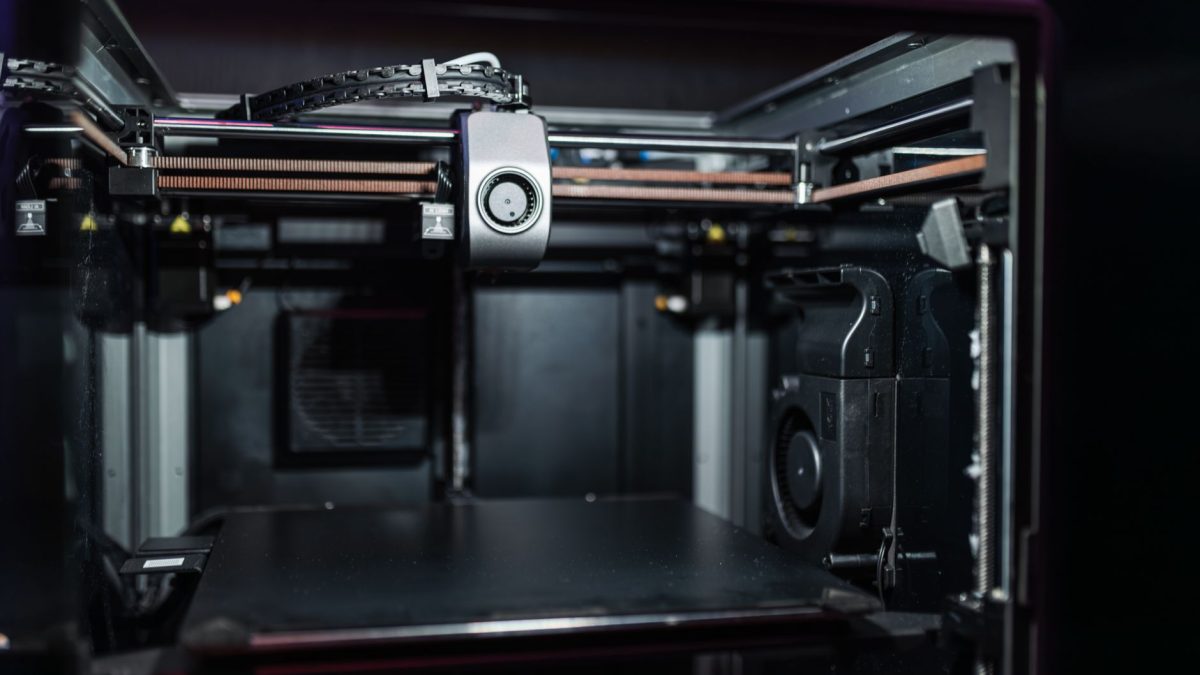
The part of the sheet you can see is rarely the whole story. Paper can wrap around a roller or fold behind a panel, so a quick tour of the printer saves you from pulling blind. Open things up and look before you touch.
Common Places Paper Gets Stuck
- The input tray. The most common spot. A misfed sheet often sits right where the paper enters the machine.
- The output slot. A page that stalled halfway out is easy to grab from the front.
- The rear access door. Most printers have a back panel that pops open, giving you a straight path to the middle rollers.
- The duplexer. On two-sided printing, sheets can jam in the flip mechanism underneath or behind the machine.
- Near the fuser (laser). On lasers, warm paper can cling to the fuser rollers just before the exit.
Once you can see how the sheet is sitting, you will know which direction it wants to travel. Working with that direction, not against it, is the secret to a clean pull. For a deeper look at where jams start, see our companion article on what causes paper jams and how to spot them early.
How to Clear a Paper Jam Step by Step
Here is the exact routine I use on almost every jam, whether it is a compact home inkjet or a heavy office laser. Follow the steps in order and you will clear most jams in under five minutes.
- Turn off and, if needed, unplug the printer. Expected result: the rollers stop moving and the machine is safe to open.
- Open the main access door or cover. Expected result: you can see the print area and any visible sheet.
- Pull the paper tray all the way out. Expected result: you expose the feed area and can spot a misfed sheet at the entry point.
- Locate the full sheet, not just the visible edge. Expected result: you know which way the paper is heading through the machine.
- Grip the sheet with both hands and pull slowly in the feed direction. Expected result: the whole sheet slides out in one clean piece.
- Open the rear door if the sheet will not budge from the front. Expected result: you gain a straight-line path to free the middle of the sheet.
- Check carefully for torn scraps and tiny bits. Expected result: no leftover pieces remain to trigger a repeat jam.
- Reseat the tray, close all doors, and power back on. Expected result: the printer resets and the error light clears.
- Print a test page. Expected result: a clean sheet confirms the jam is fully cleared.
If a sheet tears while you pull, stop and remove every fragment before printing again. Even a fingernail-sized scrap can cause the same error to fire over and over. Our guide on how to remove torn paper stuck inside a printer walks through the tricky pieces.
Tip: Keep a small flashlight and a pair of tweezers near the printer. A little light makes hidden scraps obvious, and blunt tweezers let you lift a torn corner from behind a roller without scratching anything. This tiny kit has saved me more service calls than any fancy tool.
Inkjet vs Laser: Small Differences That Matter
The clearing routine is nearly identical for both types, but a few details change depending on the printer in front of you. Knowing them keeps you from making a hot or messy mistake.
| Step | Inkjet printer | Laser printer |
|---|---|---|
| Cool-down needed | No, parts stay cool | Yes, the fuser gets very hot |
| Main jam zone | Feed rollers and print head area | Fuser and rear rollers |
| Mess risk | Wet ink can smear on your hands | Loose toner powder can spread |
| Pull direction | Forward, out the exit slot | Forward, often via rear door |
| Extra caution | Avoid touching the print head strip | Wait, then avoid the hot fuser metal |
Curious which style jams less in the first place? Our breakdown of inkjet versus laser printers and which one jams less often compares real-world reliability for home and small-office use.
After the Jam: Reset and Test
Clearing the sheet is only half the job. A proper reset makes sure the printer forgets the error and starts fresh. Skip this and you may see a jam warning even though the path is clear.
- Close every door and reseat the tray fully. A tray that is not seated flush is read as an open path and blocks printing.
- Fan the paper stack before reloading. Separating the sheets stops two from feeding at once, a top cause of repeat jams.
- Power on and wait for the ready light. Give the printer a moment to run its internal check.
- Send a single test page. One clean sheet is your proof the fix held.
In my own repairs, the most satisfying before-and-after is a small-office laser that jammed on nearly every job. The owner assumed it was broken. The real culprit was a stack of paper left near a sunny window, which had absorbed moisture and swelled at the edges. We swapped in a fresh, dry ream, fanned it, and the printer ran a hundred clean pages in a row. No parts, no service fee, just dry paper and a proper reset.
Stop the Next Jam Before It Starts
Once you have cleared a jam, a few small habits keep it from becoming a weekly headache. None of these take more than a minute.
- Do not overfill the tray. Load below the fill line so the rollers can grab one sheet at a time.
- Store paper flat and dry. Damp or curled sheets are the biggest hidden cause of misfeeds.
- Match the paper to the setting. Tell the printer the correct paper size and type so it feeds at the right speed.
- Wipe the feed rollers. A soft, slightly damp cloth restores grip on rollers that have gone slick with dust.
- Use the right weight. Very thin or very thick stock in the wrong tray jams more easily.
Want a printable routine? Grab our paper jam prevention checklist for home printers and tape it to the wall by your desk. For the full picture, our pillar guide, The Complete Guide to Fixing Printer Paper Jams, ties every one of these topics together in one place.
If your machine keeps flashing a jam warning after you have cleared everything, you may be dealing with a phantom error rather than a real sheet. When the rollers wear out, they can trigger the sensor without any paper present. You can trust our advice because we test these fixes on real machines before we publish them, as explained on our editorial policy page. Manufacturers also keep model-specific instructions online, such as the printer support library at HP’s official support site and background reading on the humble paper jam entry on Wikipedia.
Frequently Asked Questions
Why does my printer say paper jam when there is no paper?
A false or phantom jam usually means a sensor is blocked by dust, a tiny torn scrap, or a worn roller. Turn the printer off, open every door, and shine a light along the paper path. If you find nothing, wiping the sensors and rollers often clears the false alarm.
Should I pull jammed paper forward or backward?
Almost always pull forward, in the same direction the paper normally travels through the printer. Pulling backward against the rollers can bend parts, spread toner, and tear the sheet. Use two hands and slow, even pressure so the whole page comes out in one clean piece.
What should I do if the paper tears while I pull?
Stop and find every fragment before you print again. A single small scrap can trigger the same jam error repeatedly. Open the rear door, use a flashlight, and gently lift stuck pieces with blunt tweezers. Do not power on until the paper path is completely empty and clear.
How do I stop my printer from jamming so often?
Most repeat jams come from three things: overfilled trays, damp or curled paper, and slick rollers. Load below the fill line, store paper flat in a dry spot, fan the stack before loading, and wipe the feed rollers with a soft damp cloth every few reams.
Is it safe to clear a jam in a laser printer myself?
Yes, as long as you let it cool first. The fuser unit inside a laser printer runs extremely hot right after printing. Power off, wait a few minutes, then work slowly. Avoid touching the shiny metal fuser rollers directly, and keep loose sleeves away from internal parts.
You Have This Handled
A paper jam is rarely the disaster it feels like in the moment. Power down, look before you pull, work with the paper’s direction, and check for scraps. Do that and you will clear the vast majority of jams on your own in just a few minutes. If you would like to go deeper on the causes, the tools, and the trickier jams, browse the rest of our paper jam library whenever you have a spare moment. We are always glad to help you keep printing without the drama.


