

Key Takeaways
- To connect a printer to WiFi, you join it to the same 2.4 GHz network your other devices use, then let your computer or phone find it.
- Most printers offer three easy paths: the touchscreen setup wizard, a one-button WPS pairing, or the maker’s mobile setup app.
- Have your Wi-Fi network name and password ready before you start, and stand near the router for the smoothest first connection.
- Almost all home printers connect on the 2.4 GHz band, not 5 GHz, so make sure you pick the right network if yours are split.
- Once connected, give the printer a static IP so it stays reachable and does not quietly drop off the network later.
Setting up a wireless printer looks intimidating, but it is mostly about getting one small handshake right. I have set up dozens of printers for family, friends, and small offices, and the ones that go smoothly all follow the same short path. The ones that stall almost always trip over a single detail, like the wrong Wi-Fi band or a mistyped password. This guide walks you through every reliable way to connect a printer to WiFi, in plain steps. By the end you will have your printer online, printing from any device in the house, and set up so it stays that way.
What You Need Before You Start
A little prep makes the whole process painless. Almost every failed setup I have seen came from missing one of these three things, so it is worth a two-minute check before you touch the printer.
- Your Wi-Fi network name. This is the SSID you see when you connect a phone or laptop. Know the exact spelling, including capital letters.
- Your Wi-Fi password. Have it written down or on hand. Printer keypads make typing long passwords slow and error-prone, so accuracy matters.
- The printer powered on and awake. Give it a minute to warm up, and make sure it is not showing an error or a paper jam on its screen.
One more thing: place the printer near your router for the first setup. You can move it later, but a strong signal during pairing avoids frustrating timeouts. If your home has both a 2.4 GHz and a 5 GHz network, note which is which, because this trips up more people than anything else.
Why the 2.4 GHz Band Matters
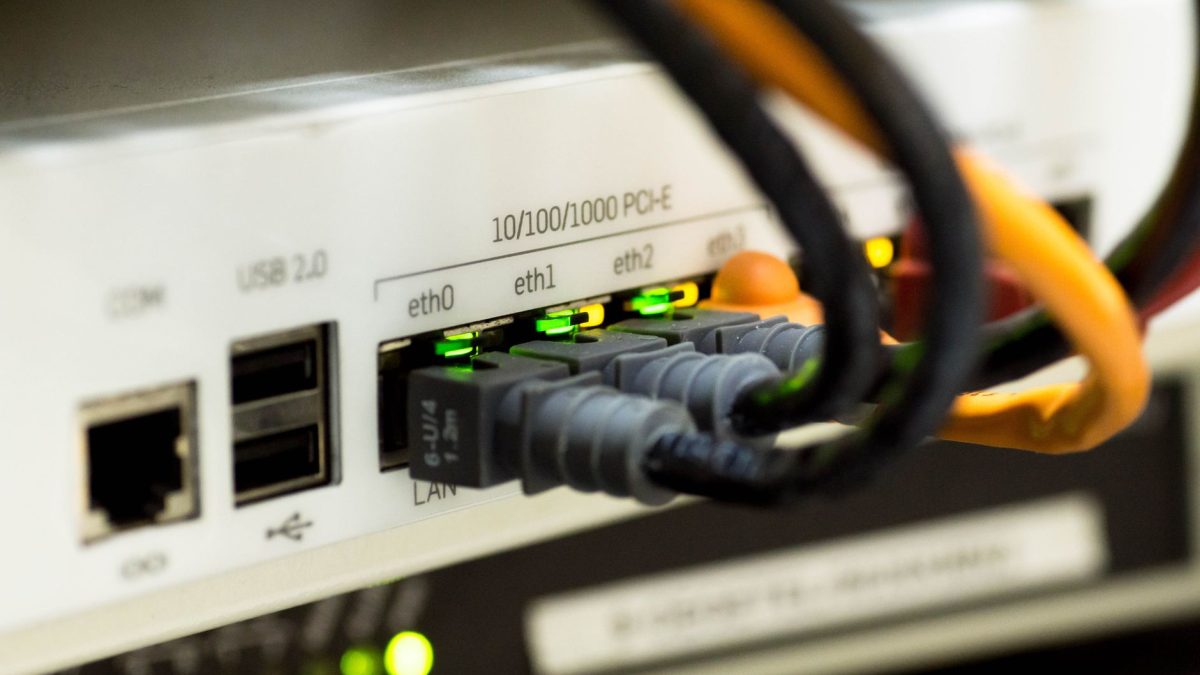
Most home and office printers only connect to the 2.4 GHz Wi-Fi band, not the faster 5 GHz one. The 2.4 GHz band reaches farther and passes through walls better, which suits a printer tucked in a corner. The trade-off is speed, but a printer sends tiny amounts of data, so speed does not matter here.
Trouble starts when your router broadcasts both bands under two different names. If you try to join the printer to a network it cannot see, setup simply fails with no clear reason. When my sister’s new printer refused to connect, the fix took thirty seconds once I realized her phone was on the 5 GHz network and the printer only wanted the 2.4 GHz one.
Tip: If your two Wi-Fi networks share the same name, temporarily rename the 2.4 GHz one in your router settings so the printer can find it clearly. You can merge them again later. Some routers also let you turn on “band steering,” which lets one name work for both.
Method 1: Use the Printer’s Touchscreen Wizard
If your printer has a color touchscreen or a small menu display, this is the easiest and most reliable path. The built-in wizard walks you through everything, and you can see each step confirmed on the screen. This is my default recommendation whenever the hardware allows it.
- Open the settings menu. Tap the gear or wrench icon on the printer’s screen. Expected result: you see a list of setup options.
- Find the network or wireless setup. Choose “Network,” “Wireless,” or “Wi-Fi Setup Wizard.” Expected result: the printer starts scanning for nearby networks.
- Select your network name. Pick your 2.4 GHz SSID from the list. Expected result: a keyboard appears asking for the password.
- Type your Wi-Fi password. Enter it carefully, checking capital letters. Expected result: the printer says it is connecting.
- Wait for confirmation. Let it finish and watch for a “Connected” message and a steady Wi-Fi light. Expected result: the printer is now on your network.
Once you see the Connected message, print a test or network configuration page from the same menu. It will show the printer’s IP address, which is handy to jot down. If the screen reports a failure, the password is the usual cause, so re-enter it slowly and try once more.
Method 2: Connect With the WPS Button
WPS, short for Wi-Fi Protected Setup, lets two devices pair by pressing a button instead of typing a password. It is genuinely quick when it works, and it is perfect for printers without a full keyboard. You just need physical access to your router.
- Find the WPS button on your router. Look for a button marked WPS or with two curved arrows. Expected result: you know which button to press next.
- Start WPS on the printer. In its network menu, choose “WPS Push Button” and confirm. Expected result: the printer begins searching for a signal.
- Press the router’s WPS button. Do this within two minutes of starting on the printer. Expected result: both devices detect each other and pair automatically.
- Wait for the connected light. Give it up to a minute. Expected result: the printer’s Wi-Fi light turns steady and setup reports success.
WPS skips the password entirely, which is why people love it. The catch is that some routers, especially newer or business-grade ones, disable WPS for security reasons. If nothing happens after two minutes, WPS may be turned off, and you should fall back to the touchscreen or app method instead.
Method 3: Use the Maker’s Mobile App
Every major brand offers a free setup app for phones and tablets, and these have become remarkably good. The app finds your printer, borrows your phone’s Wi-Fi details, and hands them over automatically, so there is little to type. This is the smoothest option for printers with no screen at all.
- Download the official app for your printer brand from your phone’s app store.
- Make sure your phone is on the 2.4 GHz network you want the printer to use.
- Open the app and choose to add or set up a new printer.
- Follow the prompts, which usually detect the printer and pass along your Wi-Fi password for you.
The app route is also the friendliest way to set up printing straight from your phone afterward. If mobile printing is your main goal, our roundup of the best ways to print from your phone or tablet covers AirPrint, cloud printing, and more. For a quick primer on the differences, the guide comparing Wi-Fi Direct, AirPrint, and cloud print is worth a read.
Choosing the Right Method for Your Printer
Not sure which path fits your situation? This quick comparison lines up the three methods so you can pick with confidence. There is no single best way; it depends on what your printer and router support.
| Method | Best for | What you need | Speed |
|---|---|---|---|
| Touchscreen wizard | Printers with a color or menu display | Wi-Fi name and password | Fast and reliable |
| WPS button | Printers with no keyboard, easy router access | A router with WPS enabled | Very fast when it works |
| Mobile setup app | Screenless printers, phone-first users | A smartphone on 2.4 GHz Wi-Fi | Smooth and guided |
| USB then wireless | Older printers, tricky networks | A USB cable and the maker’s software | Slower but dependable |
If wireless setup keeps failing, a wired USB connection is a solid backup that still lets you switch to Wi-Fi later. To weigh the trade-offs, see our plain comparison of USB versus Wi-Fi printing and decide which suits your desk.
Finishing the Setup on Your Computer
Getting the printer onto Wi-Fi is only half the job. Your computer still needs to know the printer exists so it can send jobs to it. The good news is that modern systems usually spot a networked printer on their own within a minute or two.
On Windows, open Settings, then Bluetooth & devices, then Printers & scanners, and click “Add device.” Your printer should appear in the list, ready to add with one click. On a Mac, open System Settings, choose Printers & Scanners, click the plus button, and select your printer from the list that appears.
If your computer cannot find the printer even though its screen says it is connected, both devices are probably on different networks. Double-check that the printer joined the same band your computer uses. If a Mac is giving you grief specifically, our FAQ on why a printer won’t connect to a Mac covers the quirks worth knowing.
Warning: Skip any random driver-download site that a search engine surfaces. These often bundle unwanted software or outdated drivers. Use only your printer maker’s official support site or the built-in setup on your computer, which pulls the correct driver automatically.
Keeping Your Printer Connected for Good
A printer that connects today but vanishes next week is worse than no printer at all. The single best move to prevent this is giving your printer a fixed address on your network so your computer always knows where to find it.
By default, your router hands out addresses that can change over time. When the printer’s number shifts, your computer keeps knocking on the wrong door and reports the printer as offline. Assigning a static IP solves this cleanly, and our step-by-step guide to assigning a static IP to your printer makes it approachable even if you have never opened your router settings.
A few other habits keep things stable. Place the printer within solid Wi-Fi range, turn off aggressive deep-sleep timers, and keep both router and printer firmware reasonably current. If your printer still drops off despite this, walk through the reasons a printer keeps dropping off Wi-Fi, and check whether any router settings are quietly breaking your printer’s Wi-Fi.
For the full picture of how every piece fits together, from computer to router to printer, our complete guide to printer connection problems maps the entire chain. If you want to understand the underlying technology, the neutral overview of Wi-Fi on Wikipedia explains the bands and standards in clear terms.
Frequently Asked Questions
How do I connect my printer to WiFi without the screen?
Use the WPS button method or the maker’s free mobile app. WPS pairs your printer and router with a button press and no password. The app borrows your phone’s Wi-Fi details and passes them to the printer automatically. Both work well for printers that have no display of their own.
Why won’t my printer connect to my WiFi?
The most common causes are a mistyped password, being on the 5 GHz band instead of 2.4 GHz, or standing too far from the router during setup. Double-check your password, confirm the printer is joining the 2.4 GHz network, and move it closer to the router while you pair. Then try again.
Does my printer need 2.4 GHz or 5 GHz WiFi?
Nearly all home and office printers use 2.4 GHz Wi-Fi only. This band reaches farther and passes through walls better, which suits a printer that sends very little data. If your router splits its bands into two names, make sure you select the 2.4 GHz network during setup, or the printer will not find it.
How do I add the printer to my computer after connecting it?
On Windows, go to Settings, then Printers & scanners, and click Add device. On a Mac, open System Settings, choose Printers & Scanners, and click the plus button. Your printer should appear within a minute or two, as long as your computer is on the same Wi-Fi network the printer joined.
Will my printer stay connected to WiFi permanently?
It should, but the most reliable way to keep it connected is to assign it a static IP address so its network number never changes. Also keep it within good signal range and disable aggressive sleep timers. These small steps stop the frustrating cycle of a printer that connects fine one day and disappears the next.
You’re Connected
Connecting a printer to Wi-Fi comes down to one clean handshake: put the printer on the same 2.4 GHz network as your devices, then let your computer find it. Whether you use the touchscreen wizard, a WPS button, or the mobile app, the path is short once you have your network name and password ready. Give the printer a static IP afterward and it will stay dependable for the long haul. If you would like a printable version of these steps, our wireless printer setup checklist for any brand is a handy companion, and you can always read more about how the PrinterDojo team tests. No pressure, just calm, practical help whenever you need it.


